What on earth am I doing?
Remember in high school when you were fighting to stay away in trig class? Well it's paying off on this DIY project. I'm struggling to remember the basics, but I got the hexagon figured out. It is actually mathematically simple, but more importantly, miter saw friendly. No crazy cuts needed.Let me show you how easy this is....

1.) Cut six pieces of wood, eight inches long. This will make a nice medium size hexagon.
The wood I am using in this project is left over from cutting running boards for Reese's twin bed. They were very cheap pine, rounded 1 x 3's. These cuts are made at zero degrees. We will get to the exciting cuts in a moment.
2.) Time to use some of that math sorcery. Cut both ends at 30 degrees towards the inside. (See the picture if that explanation isn't doing it for you.)
So how did I come up with 30 degrees? I really don't know.. something about 180 degrees and six sides and dividing and the number 30 showed up on my phone calculator. Sorcery I tell you!
If you can't tilt your miter saw, I'm sure you can just cut your angles like this..

You should now have six pieces of wood cut with 30 degree angles on both sides.
**Skip to the video or continue on for pictures instead.
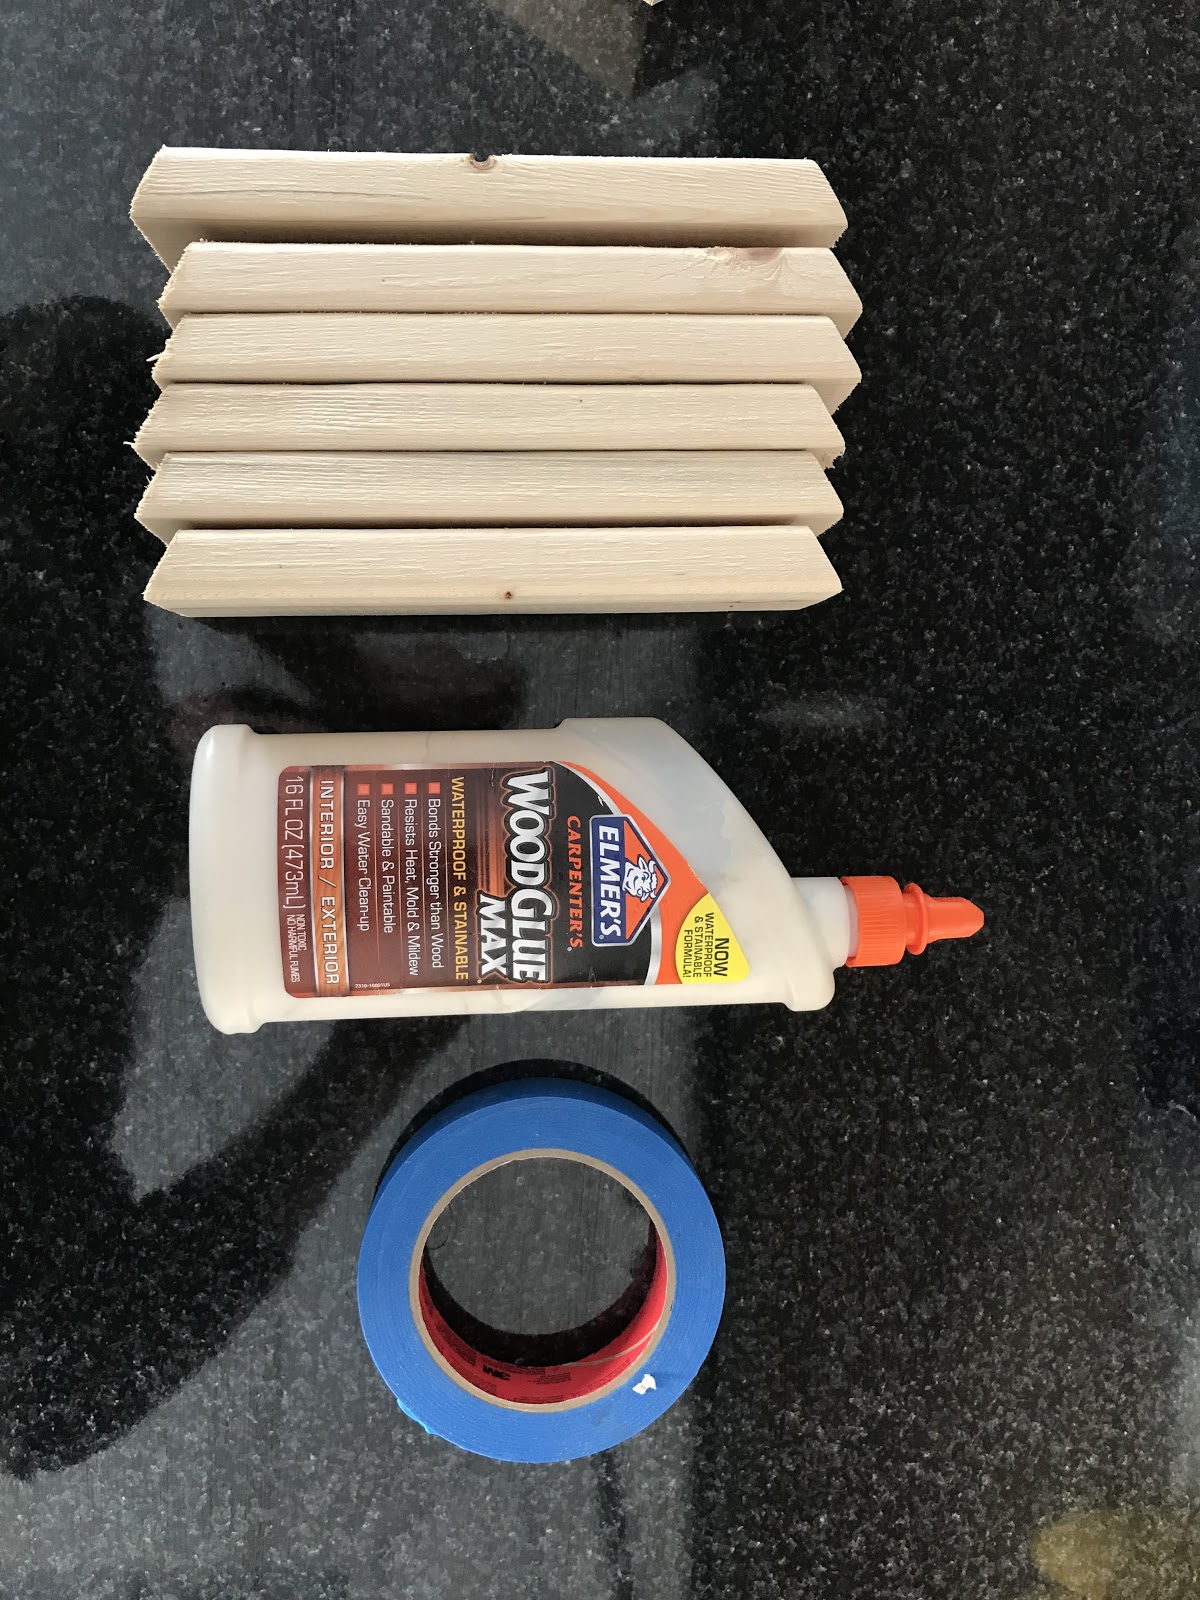
3.) Time to prep for gluing. Lay all pieces face down and tape the backs with a strip of tape.
You don't have to be perfect here, but the closer to perfect you are, the less work at the end. You can see it's so simple that you can eat a delicious Upstate NY Cortland apple at the same time. No one is even paying me to say that!
Slap some tape on the back. This is just painters tape, but a simple masking or duck tape would work.


4.) Flip the taped pieces over and apply a generous amount of wood glue in the "V" wedges.
I have this small butter knife that works so perfect for things like this. I just give it a good licking when I'm done and throw it back in the drawer before the wife knows I even touched it.

5.) Begin joining the "V's" insuring they are aligned.
It's incredibly simple and forgiving. You can make small adjustments as you go. Don't worry about the glue oozing out, just give it a good wiping before the glue drys.


6.) Tape the final joint and let it sit for 24 hours.
Now would be a good time to drink a beer if you're a day drinker. Or start another project to leave half done somewhere else in the house. The wife loves those!
Here is a time lapse of the event. I would classify it as a drama, but some might consider it a comedy.

Comments
Post a Comment